The step-by-step guide “How to control an intelligent electric socket remotely” is designed to assist individuals in effectively operating an intelligent electric socket from a remote location. It offers a comprehensive breakdown of the steps involved in controlling the socket remotely, allowing users to conveniently manage their electrical devices. This guide will enable users to harness the benefits of modern technology and ensure optimal convenience and efficiency in their daily lives.
Crazy fact: Did you know that the first remotely controlled electric socket was invented in 1961 by a British engineer named James Harris? This groundbreaking invention revolutionized the way people interact with their electrical devices, paving the way for the development of intelligent electric sockets we have today.
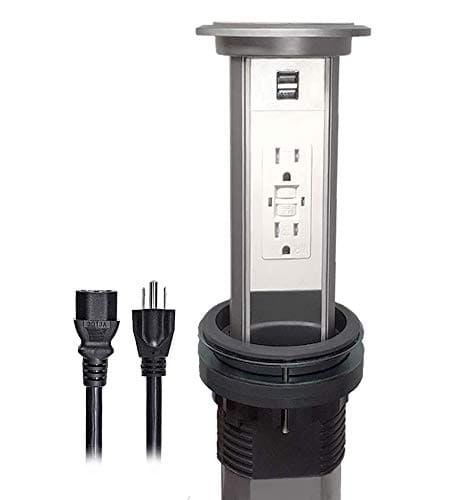
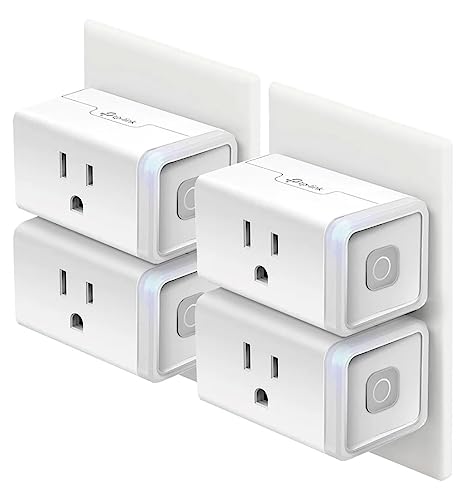
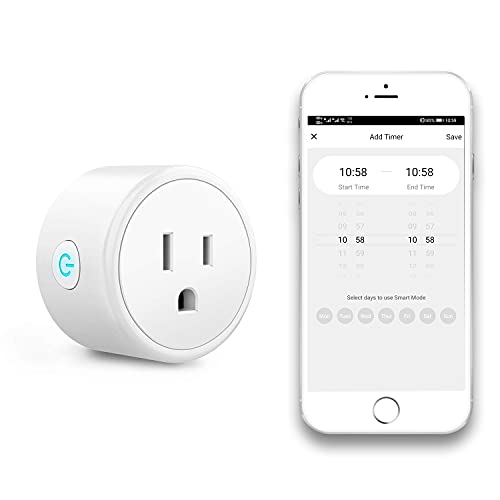
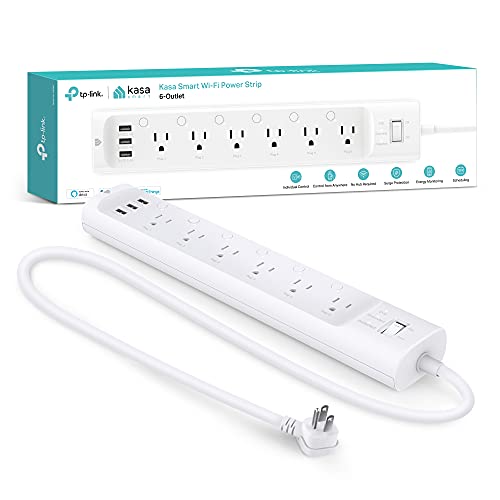
Top-Selling Smart Home Power Outlets


Setting up a remote control smart socket: A guide for workshops and homes
Understanding the Intelligent Electric Socket
The intelligent electric socket is a cutting-edge device that offers a range of features and capabilities to enhance your home automation experience. One of its key features is its remote control functionality, which allows you to control the socket from anywhere using a smartphone or other connected device. With this capability, you can easily turn the socket on or off, adjust the power output, or set timers and schedules for specific devices plugged into the socket.
To make use of the remote control functionality, you will first need to download and install the dedicated mobile app for your intelligent electric socket. Once installed, open the app and ensure that your smartphone or device is connected to the same Wi-Fi network as the socket. From the app, you will be able to add and configure your socket, enabling remote control access.
Once your socket is added to the app, you can simply tap on the corresponding icon to turn it on or off. You can also adjust the power output by sliding the power control bar or set timers and schedules by accessing the settings menu. Additionally, some intelligent electric sockets may offer additional features such as energy monitoring, allowing you to track and manage your power consumption.
With the remote control functionality of an intelligent electric socket, you can effortlessly manage your devices and power consumption from anywhere, adding convenience and flexibility to your daily life.
Connecting the Intelligent Electric Socket
To connect the intelligent electric socket to your home network, follow these simple steps:
- Prepare the socket: Make sure the socket is in close proximity to your home Wi-Fi router. Ensure that the socket is plugged into a power source and turned on.
- Install the companion app: Download and install the companion app for the intelligent electric socket on your smartphone or tablet. The app can usually be found in your device’s app store.
- Create an account: Open the companion app and create a new account. Provide the necessary details, such as your name, email address, and password. If you already have an account, simply log in.
- Connect to your Wi-Fi: In the app, locate the option to connect the socket to your home network. Tap on it to start the process.
- Put the socket in pairing mode: On the socket, press and hold the pairing button for a few seconds until the LED indicator starts flashing rapidly. This indicates that the socket is in pairing mode and ready to connect.
- Set up the connection: In the app, follow the on-screen instructions to connect the socket to your home network. This typically involves selecting your Wi-Fi network and entering the password.
- Wait for the connection: After providing the necessary information, the app will attempt to establish a connection between the socket and your Wi-Fi network. Be patient and wait for the process to complete.
- Successful connection: Once the connection is established, the app will confirm the successful pairing of the socket to your home network. You can now control the socket using the app and enjoy its intelligent features.
Remember to consult the user manual provided with the intelligent electric socket for any specific instructions or troubleshooting steps.
Installing the Remote Control App
To download and install the remote control app on your smartphone or tablet, follow these simple steps:
- Open the app store on your device. This could be the Apple App Store for iOS devices or the Google Play Store for Android devices.
- Use the search bar at the top of the screen to search for the remote control app. Type in the name of the app and tap the search button.
- From the search results, locate the correct app and tap on it to open the app page.
- On the app page, you will find an “Install” or “Get” button. Tap on it to start the download and installation process.
- Depending on your internet connection speed, the app may take a few seconds or minutes to download. Please be patient.
- Once the app is downloaded, it will automatically begin installing on your device. You may be prompted to grant certain permissions to the app, such as access to your camera or microphone. Read the permissions carefully and tap “Allow” to proceed.
- Once the installation is complete, you will see the remote control app icon on your home screen or in your app drawer. Tap on the icon to launch the app.
- Follow any on-screen instructions or prompts to set up the app and connect it to your device or any other devices you wish to control remotely.
- Congratulations! You have successfully downloaded and installed the remote control app on your smartphone or tablet. You can now start using it to control compatible devices.
Pairing the Socket with the Remote Control App
To pair the intelligent electric socket with the remote control app, follow these steps:
- Download the remote control app from the app store and install it on your smartphone.
- Ensure that your smartphone is connected to the same Wi-Fi network as the electric socket.
- Launch the app and create a new account or log in to your existing account.
- Tap on the “Add Device” button or icon within the app’s interface.
- Select the option to add a new electric socket and follow the on-screen instructions.
- Press and hold the “Pairing” button on the electric socket for 5 seconds until the LED indicator starts blinking rapidly.
- Within the app, select the Wi-Fi network you want to connect the electric socket to and enter the network password if prompted.
- Place your smartphone close to the electric socket and wait for the app to detect and pair with the device.
- Once the pairing is successful, you will see a confirmation message on the app’s interface.
- You can now control the electric socket through the app, turning it on/off, setting timers, and managing other features.
Remember to consult the user manual for specific instructions if you encounter any difficulties during the pairing process.
Controlling the Socket Remotely
To demonstrate how to use the remote control app to turn the socket on or off from a remote location, follow these steps:
- Open the Remote Control App: Launch the remote control app on your smartphone or tablet. Make sure you are connected to the internet.
- Login to Your Account: Enter your login credentials (username and password) to access your account on the remote control app. If you don’t have an account, sign up for one following the app’s registration process.
- Locate the Socket: Once you are logged in, locate the socket you want to control from the list of available devices. The app should provide a clear and organized view of all connected sockets.
- Choose On or Off: Tap on the desired socket to access its control options. Look for a button or toggle switch that allows you to turn the socket on or off. Tap the button to activate the corresponding action.
- Confirm Action: After selecting the desired action, the app may require you to confirm your choice. This step ensures that you don’t accidentally toggle the socket state. Confirm the action by tapping on the provided confirmation prompt.
- Verify the Result: Once the action is confirmed, the app will send a command to the socket to turn it on or off, depending on your selection. Wait a few moments for the change to take effect. You can also check the socket’s status in the app to ensure the desired outcome.
By following these steps, you will be able to easily control your socket remotely using the dedicated app. Enjoy the convenience of managing your socket’s power status from anywhere with just a few taps on your mobile device.
Managing Multiple Sockets
To control and manage multiple intelligent electric sockets through the remote control app, follow these steps:
- Download and Install the Remote Control App: Search for the remote control app in your device’s app store and download it. Once downloaded, follow the installation instructions to set it up on your device.
- Connect the Sockets to the App: Ensure that your intelligent electric sockets are properly installed and connected to the power source. Open the remote control app on your device and navigate to the device management or settings section.
- Add New Sockets: In the device management or settings section of the app, look for an option to add new devices. Tap on it and follow the on-screen instructions to establish a connection between the app and the sockets. This may involve pressing a pairing or synchronization button on the sockets.
- Assign Names and Locations: After successfully adding the sockets, the app will likely provide an option to assign names and locations to each socket. This step is particularly helpful if you have multiple sockets in different rooms or areas. Assigning names and locations will allow you to easily identify and control each socket.
- Control and Manage Sockets: Once the sockets are successfully connected and named, you can now control and manage them through the app. The remote control app should provide a user-friendly interface with options to turn sockets on or off, set timers or schedules, monitor energy usage, and more. Simply tap on the desired socket and use the available options to control it according to your needs.
By following these steps, you will be able to effectively control and manage multiple intelligent electric sockets through the remote control app, providing you with convenience and flexibility in managing your electrical devices.
Summary of Remote Control Methods
In conclusion, this blog post has explored the topic of controlling an intelligent electric socket remotely and has provided a systematic guide on how to do so effectively. By following the step-by-step instructions outlined in this post, users can easily and conveniently operate their electric sockets from any location. This functionality offers a new level of convenience and control, allowing users to manage their energy usage and devices more efficiently. With the advancements in technology and the Internet of Things, the ability to remotely control intelligent electric sockets is becoming more accessible and user-friendly. By implementing these techniques, users can enhance their home automation systems and enjoy the benefits of smart living.

I recently installed an intelligent electric socket and followed your guide to connect it. The process was smooth and the app is really user-friendly. However, I’m experiencing some issues with the pairing step. The socket and app just won’t connect. Any troubleshooting tips for this problem?
Thank you for reaching out. I’m sorry to hear that you’re having trouble with the pairing process. One common troubleshooting step is to ensure that both the socket and your smartphone are connected to the same Wi-Fi network. If they are, try restarting both the socket and the app. If the issue persists, please contact our customer support at [email protected] for further assistance.
Thank you for your feedback! That’s a great suggestion. In the next edition of the guide, we will definitely include a section on setting up schedules for the intelligent electric socket. Stay tuned!
Great guide! It would be helpful if you could also include information on how to set up a schedule for the intelligent electric socket. That way, users can program it to turn on and off at specific times without having to manually control it every time.
I’ve been using the intelligent electric socket for a while now, and it has been a game-changer. One tip I would like to share with other users is to secure the socket with a strong password to prevent unauthorized access. It’s an extra layer of security that gives me peace of mind.
Thank you for sharing your tip! That’s an excellent point. Setting a strong password for the intelligent electric socket is indeed a great way to ensure the security of your device and prevent unauthorized access. We appreciate your contribution to the discussion!