The step-by-step guide titled “How to install a smart water heater?” provides a concise overview of the installation process for a smart water heater. It covers both upgrading an existing system and installing a new one, offering the necessary steps for a successful installation.
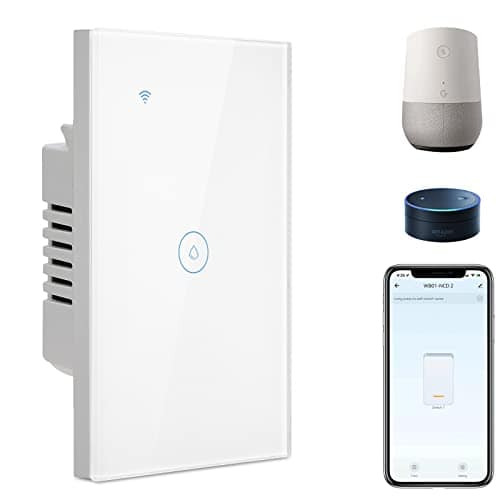
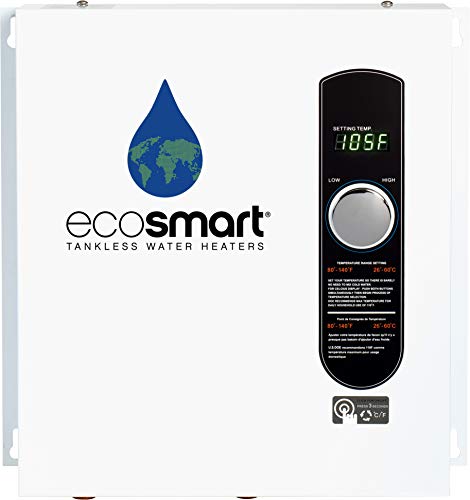
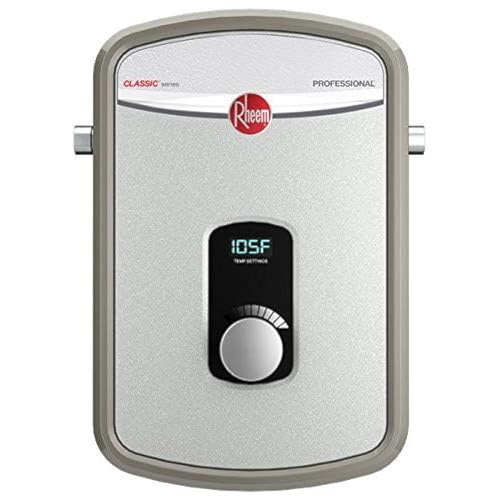
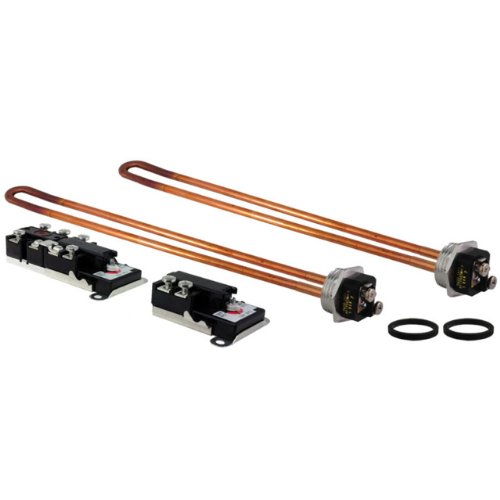
Top-Selling Smart Water Heaters


A Step-by-Step Guide on Installing an Electric Hot Water Heater Tank
Gather the necessary tools and materials
Before starting the installation process, it is crucial to gather all the necessary tools and materials. This will ensure a smooth and efficient installation of your new smart water heater unit. Begin by checking the manufacturer’s instructions for a complete list of tools and materials required. Some common tools that you may need include a wrench, pliers, Teflon tape, a pipe cutter, and a level.
First, ensure that you have a wrench of the appropriate size to fit the various nuts and bolts that will be involved in the installation. This will allow you to securely fasten the different components together. Additionally, a pair of pliers will come in handy for any tasks that require gripping or turning of smaller parts.
Next, make sure you have Teflon tape available. This tape is used to create a watertight seal when connecting pipes and fittings, preventing any leaks from occurring. A roll of Teflon tape is usually sufficient for most installations.
A pipe cutter is essential for cutting and preparing the pipes that will be connected to the water heater unit. This tool will enable you to achieve clean and precise cuts, ensuring a proper fit and preventing any leaks in the future.
Lastly, having a level is important to ensure that the water heater unit is installed correctly and remains level. This will also help to prevent any issues with the unit’s performance over time.
In addition to these tools, it is critical to have the new smart water heater unit itself. Double-check that you have received the correct model and that all the necessary components are included.
By gathering all the required tools and materials before starting the installation process, you can avoid any unnecessary delays or complications. This will ensure a successful installation and a functioning smart water heater unit.

Turn off the power and water supply
- Ensure your safety by switching off the power supply to the water heater at the circuit breaker.
- Locate the circuit breaker panel in your home.
- Open the panel cover to access the circuit breakers.
- Look for the circuit breaker labeled for the water heater.
- Flip the switch to the “off” position to cut off power supply to the water heater.
- Confirm that the power is turned off by testing the water heater controls or checking if the water heater is no longer functioning.
- In addition to turning off the power, shut off the water supply to the existing water heater.
- Locate the cold water inlet pipe connected to the water heater.
- Identify the valve on the pipe that controls the water flow.
- Rotate the valve clockwise to close it and stop the water supply.
- Verify that the valve is fully closed by testing the water flow at a nearby faucet or checking for any water leakage around the valve.
By following these steps, you can ensure your safety and prevent any potential mishaps while dealing with the water heater.
Drain the existing water heater
Connect a hose to the drain valve located at the bottom of the water heater. Ensure that the hose is securely attached to the valve to prevent any leaks. Direct the other end of the hose to a suitable drainage area, such as a floor drain or outdoors. Position the hose in a way that allows for smooth and unobstructed flow of water.
Once the hose is properly connected and positioned, open the drain valve by turning it counterclockwise. This will initiate the draining process. Be prepared for the water to start flowing out of the hose. Allow the water to completely drain from the tank, ensuring that there is no residual water remaining.
Once all the water has drained out, close the drain valve by turning it clockwise. Make sure it is tightly closed to prevent any water leakage. At this point, the water heater is successfully drained and ready for further maintenance or repairs.
Remove the old water heater
Disconnect the electrical wiring and plumbing connections from the old water heater. Start by turning off the power supply to the water heater at the circuit breaker. Use a voltage tester to confirm that the power is off before proceeding. Next, remove the access panel on the water heater to expose the electrical connections. Use a screwdriver to loosen the terminal screws and disconnect the wires. Be sure to note the location of each wire for reconnection later.
Once the electrical connections are safely disconnected, move on to disconnecting the plumbing connections. Shut off the water supply to the water heater by closing the main water valve. Use a wrench to loosen the fittings connecting the pipes to the water heater. If the pipes are too long to easily remove, use a pipe cutter to cut them in a convenient location. Remember to take precautions and wear safety gloves when using a pipe cutter.
With the help of another person, carefully remove the old water heater from its location. Depending on the size and weight of the water heater, it may take two or more people to safely lift and carry it. Use caution to prevent injury and protect the surrounding area from any potential damage. Lift the water heater from its base and slowly carry it out of the installation area. Dispose of the old water heater according to local regulations and guidelines.
By following these steps, you will be able to disconnect the electrical wiring and plumbing connections from the old water heater and safely remove it from its location. Remember to always prioritize safety and consult a professional if you are unsure about any aspect of this process.
Prepare the installation area
To prepare the installation area for the new smart water heater, it is crucial to ensure that the space is clean, level, and free from any obstructions. Follow these steps to create a stable and safe foundation:
- Clear the area: Remove any objects, debris, or furniture that may be present in the installation area. This will provide sufficient space to work and prevent any potential hazards.
- Clean the area: Sweep or vacuum the floor to eliminate dust, dirt, or any other particles that may interfere with the installation process. A clean area will promote proper adhesion and prevent damage to the water heater.
- Check for levelness: Use a level tool to determine if the floor is even and level. If any unevenness is detected, consider using shims or leveling compound to create a flat surface. This will prevent the water heater from tilting or wobbling.
- Ensure no obstructions: Check for any pipes, electrical wires, or other obstacles that may hinder the installation process. Make sure there is sufficient clearance around the area to allow for proper ventilation and maintenance of the water heater.
By following these instructions and ensuring a clean, level, and obstruction-free installation area, you will provide a solid foundation for your new smart water heater, ensuring its optimal performance and longevity.
Install the new smart water heater
- Connect the electrical wiring: Start by turning off the power supply to the water heater at the circuit breaker. Remove the access cover on the water heater and carefully read the manufacturer’s instructions for proper electrical connection. Typically, you will need to connect the black wire to the hot wire, the white wire to the neutral wire, and the green or bare wire to the ground wire. Use wire connectors or terminal screws to secure the connections, ensuring they are tight and secure.
- Make plumbing connections: Begin by shutting off the water supply to the old water heater. Next, disconnect the existing plumbing connections, including the hot water outlet pipe, cold water inlet pipe, and any additional connections, such as a pressure relief valve or expansion tank. Follow the manufacturer’s instructions to connect the new smart water heater to the existing plumbing system. Use appropriate pipe fittings, such as compression or soldering, to ensure leak-free connections. Finally, turn on the water supply and check for any leaks.
- Ensure proper insulation: Insulation is crucial for energy efficiency and preventing heat loss. Carefully inspect the manufacturer’s instructions to determine the recommended insulation method for your specific smart water heater model. This may involve applying insulation to the tank, pipes, and fittings. Use insulation materials that comply with local building codes and manufacturer recommendations. Proper insulation will help maintain water temperature and reduce energy consumption.
Remember, it is essential to follow the manufacturer’s instructions throughout the installation process. If you encounter any difficulties or have questions, consult a professional plumber or electrician for assistance.
Turn on the power and water supply
- To turn on the power supply, locate the circuit breaker panel in your house. Flip the breaker switch corresponding to the water heater to the “on” position. You may need to consult the circuit breaker diagram or labels to identify the correct switch. Once the power supply is turned on, proceed to the next step.
- Now, find the cold water inlet pipe connected to the water heater. Locate the valve on this pipe and rotate it counterclockwise to open it fully. This will restore the water supply to the water heater. Take a moment to listen for any water flow or hissing sounds, as they might indicate leaks or issues.
- Next, carefully inspect the surroundings of the water heater for any signs of water leakage. Look for drips, puddles, or dampness around the connections and joints. If you notice any leaks, it is crucial to address them before proceeding further.
- Finally, test the functionality of the water heater by turning on a faucet or shower connected to the hot water supply. Allow the water to run for a few minutes and check if it is heating properly. If you encounter any problems or the water fails to heat up, consider contacting a professional for assistance.
Key Takeaways
In conclusion, installing a smart water heater is a manageable task when approached with the right knowledge and preparation. By carefully following the step-by-step instructions provided in this blog post, you should be able to confidently install your new smart water heater. However, it is important to note that manufacturer’s instructions should always be referred to for detailed guidance and recommendations. With your new smart water heater installed, you can enjoy the convenience and energy efficiency it offers for years to come.


I recently installed a smart water heater and it has been a game changer. The ability to control the temperature and schedule remotely is so convenient. I no longer have to wait for the water to heat up in the morning!
That’s great to hear! Smart water heaters can definitely improve convenience and energy efficiency. It’s amazing how technology is making our lives easier.
Is it possible to install a smart water heater without professional assistance? I’m quite handy and would love to give it a try, but I want to make sure I won’t run into any major issues.
Installing a smart water heater can be done by DIY enthusiasts, but it’s important to have some knowledge of electrical and plumbing systems. If you feel confident in your skills and follow the guide carefully, you should be able to install it yourself. However, if you have any doubts, it’s always advisable to consult a professional.
I noticed that the guide doesn’t mention anything about safety precautions. It would be helpful if you could include some tips on how to handle electrical and water connections safely during the installation process.
In addition to the steps mentioned in the guide, I found that insulating the hot water pipes can further improve energy efficiency. It helps to reduce heat loss during transit.
I’m quite familiar with basic water heater installations, but I’m curious to know if there are any advanced tips or tricks specifically for installing a smart water heater. Any suggestions?
I followed this guide step by step and successfully installed my new smart water heater. The whole process took me about 3 hours, but it was definitely worth it. The smart features are amazing!
Congratulations on your successful installation! It’s always rewarding to see the results of your hard work. Enjoy the smart features of your new water heater!
For those who are planning to install a smart water heater, I would recommend checking if your home’s electrical system can handle the increased load. Upgrading the electrical panel might be necessary in some cases.