In this step-by-step guide, I will walk you through the process of setting up smart kitchen appliances. With the increasing popularity of smart technology, more and more homeowners are turning to smart kitchen appliances to make their cooking experience more efficient and convenient. This guide aims to provide clear instructions on how to set up these appliances, ensuring that you can fully enjoy the benefits they offer. From connecting your appliances to your Wi-Fi network to configuring their settings, this guide covers everything you need to know to successfully set up your smart kitchen appliances.
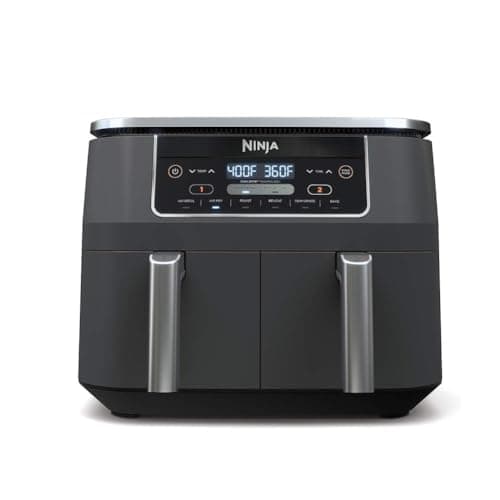
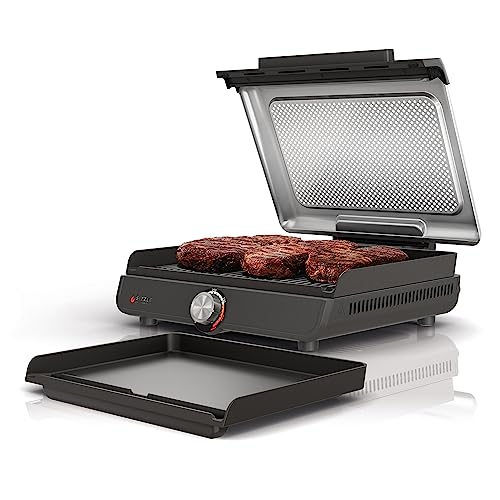
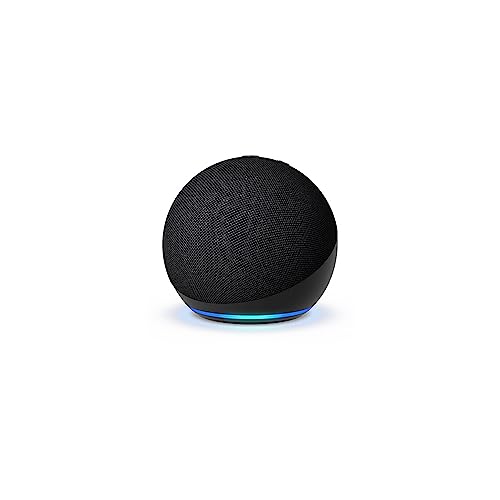
Top-Rated Smart Kitchen Appliances


Research and select the smart kitchen appliances
To research and select the best smart kitchen appliances for your needs and budget, start by researching the different types available in the market. Compare features, prices, and customer reviews to narrow down your options. For example, if you’re looking for a smart refrigerator, consider models that offer features such as temperature control, voice command integration, and energy efficiency. Once you have gathered enough information, make a list of the appliances that best fit your needs and budget.


Read the user manuals
As the author of the guide titled “Read the user manuals,” I emphasize the importance of carefully reading the user manuals provided with each smart kitchen appliance. By doing so, users can fully understand the features of these appliances, grasp the installation requirements, and follow any specific instructions provided. It is crucial to approach these manuals with attentiveness, as they provide invaluable information for a smooth and successful experience with your smart kitchen appliances.
Prepare the kitchen space
To ensure the kitchen space is clean and ready for the installation of smart appliances, begin by clearing any clutter in the area. Remove any unnecessary items from countertops, cabinets, and other surfaces. Next, check if there are electrical outlets available near the installation areas. If not, consider hiring a professional electrician to install additional outlets to accommodate the smart appliances.
Install the smart kitchen appliances
To install smart kitchen appliances, start by referring to the user manuals provided for each appliance. Follow the installation instructions outlined in the manuals, which may include connecting the appliances to power sources, Wi-Fi networks, or other devices. For example, for a smart refrigerator, you may need to plug it into an electrical outlet and connect it to your home’s Wi-Fi network by following the instructions displayed on the appliance’s screen.
Connect the appliances to a smart hub or app
To connect your smart kitchen appliances to a smart hub or app, first, check if your appliances require a smart hub or if they can be directly connected to an app. If a smart hub is needed, follow the manufacturer’s instructions to set it up and connect it to your home network. If an app is required, download the relevant app from the app store onto your smartphone or tablet. Open the app and follow the on-screen instructions to create an account, pair the app with your appliances, and establish the connection.
Configure the settings
To access the settings of each smart kitchen appliance, follow these steps:
- Open the app or navigate to the control panel of the appliance.
- Locate the “Settings” or “Preferences” option.
- Choose the specific setting you wish to customize, such as temperature, timers, or notifications.
- Adjust the setting according to your preferences by selecting the desired options or entering specific values.
- Save the changes to apply the customized settings.
By following these instructions, you will be able to configure the settings of your smart kitchen appliances to suit your individual needs and preferences.
Test the functionality
To test the functionality of the smart kitchen appliances, start by checking if they are functioning correctly. Test each appliance’s features to ensure they respond appropriately to commands from the smart hub or app. This can be done by using the smart hub or app to send commands and observing the appliances’ response.
Learn the voice commands (if applicable)
- Familiarize yourself with the voice commands: If your smart kitchen appliances support voice commands, take the time to learn the available commands. Refer to the user manual or the manufacturer’s website for a comprehensive list.
- Practice using the commands: Once you are aware of the available voice commands, practice using them to control your appliances. Start by speaking clearly and using the correct command phrases. Experiment with different variations and observe how the appliances respond to each command.
- Take note of any issues or limitations: During your practice sessions, pay attention to any difficulties or limitations you encounter with the voice commands. This will help you understand the capabilities of your appliances and identify any areas where you may need to adjust or refine your commands.
Remember, the more you practice, the more comfortable you will become with using voice commands to control your smart kitchen appliances.
Troubleshoot common issues
To troubleshoot common issues with smart kitchen appliances, it is essential to be familiar with some troubleshooting steps. First, try resetting the devices by turning them off and on again. If the issue persists, check the connectivity of the appliances to ensure they are properly connected to the Wi-Fi network. If all else fails, contact customer support for further assistance. For example, if your smart coffee maker is not brewing, try resetting it by unplugging it from the power source, waiting for a few seconds, and then plugging it back in. If the issue continues, check if the coffee maker is connected to the Wi-Fi network and ensure the network is functioning properly. If the problem persists, reach out to customer support for guidance.
Enjoy your smart kitchen
Explore the features and convenience of your smart kitchen appliances by incorporating them into your daily cooking routines. Begin by familiarizing yourself with the various functions and settings of each appliance, such as setting cooking timers or adjusting temperature settings. Experiment with different recipes and utilize the smart features to simplify your cooking experience and enhance your culinary skills. Enjoy the efficiency and ease that your smart kitchen appliances bring to your everyday life.
Final thoughts and recommendations
In conclusion, setting up smart kitchen appliances requires careful research, proper installation, configuration, and troubleshooting. This guide emphasized the significance of each step to ensure a successful setup. By conducting thorough research, understanding the installation process, properly configuring the appliances, and being prepared to troubleshoot any issues that may arise, users can experience the convenience and efficiency that smart kitchen appliances offer. Taking these necessary steps will help users maximize the benefits of their smart appliances, making their kitchen experience smarter and more enjoyable.
Enhancing Kitchen Efficiency
Operating Instructions for Smart Kitchen Appliances
- Familiarize yourself with the appliance’s features: Take some time to read the user manual and understand the different functions and settings available on the smart kitchen appliance
- Connect the appliance to your home network: Most smart kitchen appliances require Wi-Fi connectivity. Follow the manufacturer’s instructions to connect the appliance to your home network. This will allow you to control and monitor the appliance remotely
- Download and set up the companion app: Many smart kitchen appliances have companion apps that provide additional features and control options. Download the app recommended by the manufacturer and follow the setup instructions to sync the appliance with your smartphone or tablet
- Explore the app’s functionality: Once the app is set up, take some time to explore its features. This may include setting cooking timers, adjusting temperature settings, or accessing recipes and cooking tips
- Start with simple recipes: When using a smart kitchen appliance for the first time, start with simple recipes. This will help you become familiar with the appliance’s operation and get comfortable using its features. As you gain more confidence, you can gradually move on to more complex recipes
- Remember, each smart kitchen appliance may have unique features and functionalities, so it’s important to refer to the specific user manual and instructions provided by the manufacturer
Frequently Asked Questions about Smart Kitchen Appliances
Can you provide examples of smart kitchen appliances and their functionalities?
Yes, I can provide examples of smart kitchen appliances and their functionalities. Some examples of smart kitchen appliances include:
- Smart Refrigerators: These appliances are equipped with features such as built-in cameras that allow you to see the contents of your fridge remotely through a smartphone app. They also offer features like inventory management, expiration date tracking, and the ability to create shopping lists.
- Smart Ovens: These ovens can be controlled remotely through a smartphone app. They offer features such as preheating the oven before you get home, setting cooking timers, and adjusting temperature settings from anywhere.
- Smart Coffee Makers: These appliances can be programmed to brew coffee at specific times, and some even have the ability to connect to voice assistants like Amazon Alexa or Google Assistant for voice commands.
- Smart Dishwashers: These dishwashers can be controlled and monitored remotely through a smartphone app. They offer features such as cycle customization, energy consumption monitoring, and the ability to receive notifications when the dishwasher cycle is complete.
- Smart Sous Vide Cookers: These appliances allow for precise temperature control and can be controlled remotely through a smartphone app. They offer features such as recipe guides, notifications, and the ability to monitor and adjust cooking times and temperatures.
- Smart Blenders: These appliances can be controlled through a smartphone app and offer features such as pre-programmed blending settings, recipe suggestions, and the ability to adjust blending speeds and durations remotely.
Great article! I’ve been wanting to set up my smart kitchen appliances and this guide is really helpful. Thank you!
I’ve been hesitant to invest in smart appliances, but this article has convinced me to give it a try. Excited to upgrade my kitchen!
Thank you for sharing this article. It’s given me the confidence to start building my smart kitchen.
I appreciate the tips on choosing compatible devices. It can get overwhelming with so many options out there.
One thing I would add is the importance of securing your smart devices with strong passwords. Safety should always come first.
I appreciate the step-by-step instructions and the visuals provided. Makes it easier to understand the setup process.
The article emphasizes the energy-saving benefits of smart appliances. A great way to be more eco-friendly!
This article has great recommendations for smart kitchen appliances. Can’t wait to make my cooking experience more efficient.
This article covers all the essential steps to set up smart kitchen appliances. Clear and concise instructions.
I never realized how convenient smart kitchen appliances can be. Definitely going to give it a try!
I’m glad the article mentioned the integration with voice assistants. Makes it even more convenient to control the appliances.
Does anyone have recommendations for specific smart appliances? Would love to hear about your experiences.