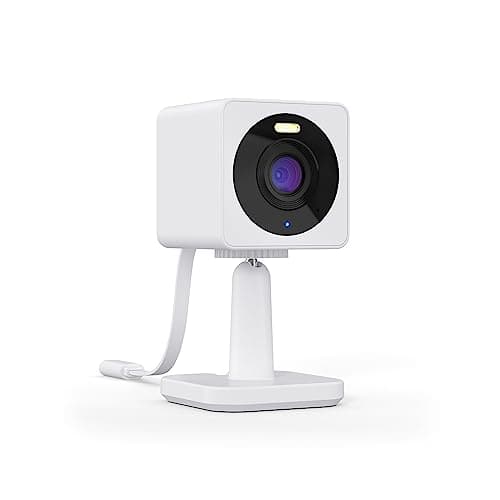
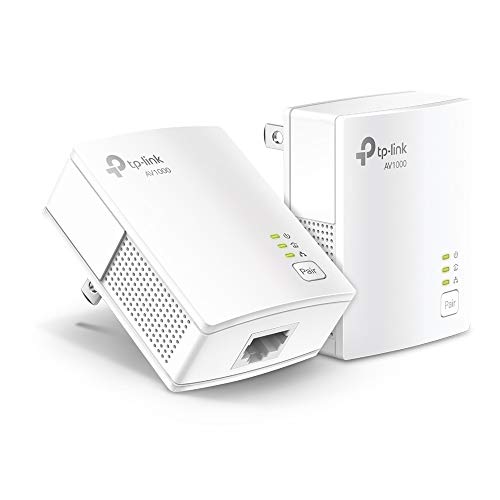
The step-by-step guide “How to Troubleshoot Common Issues with Your Security Camera System” is a comprehensive resource for troubleshooting problems you may encounter with your security camera system. It covers a range of common issues such as blurry footage and connectivity problems, and provides detailed steps to identify and resolve these issues. By following this guide, you will be equipped with the necessary knowledge and tools to effectively troubleshoot and fix any problems that may arise with your security camera system.
Top-selling surveillance cameras for enhanced security
A Guide to Troubleshooting Security Cameras
Check Power Supply
To check the power supply for your security camera system, follow these steps:
- Inspect the connections: Verify that all cameras and the main control unit are securely connected to a power source. Ensure that the power cables are properly plugged in and that there are no loose connections.
- Examine the cables: Carefully inspect the power cables for any signs of damage, such as frayed wires or exposed insulation. If you find any issues, replace the damaged cables with new ones to ensure a safe and reliable power supply.
- Test the power source: If the cameras and control unit are properly connected but still not receiving power, try plugging another electronic device into the same power outlet to check if it is working. If there is no power, check the circuit breaker or fuse box to ensure the power supply to the outlet is not interrupted.
By following these steps, you can troubleshoot and ensure a stable power supply for your security camera system.
Verify Camera Connections
To verify camera connections, first, ensure that all cameras are securely connected to the main control unit. Check that the cables are plugged in correctly and without any visible signs of damage. If needed, reseat the connections to ensure a proper and reliable connection.
Check Network Connection
- Verify the stability of your network connection if your security camera system is connected to your network.
- Ensure that the Ethernet cables are securely connected and try resetting the network router if necessary.
Inspect Camera Lens
Inspecting the camera lens is crucial to ensure optimal footage quality. Start by carefully examining the lens for any dirt, debris, or obstructions that may impact the clarity of the images. If necessary, clean the lens gently using a microfiber cloth or lens cleaning solution, ensuring to follow the manufacturer’s instructions.
Adjust Camera Position
To adjust the camera position:
- Experiment with different angles and heights to find the optimal position.
- Mount the camera securely, ensuring it is stable and won’t move or vibrate.
- Avoid placing the camera too high or too low, as it may limit visibility or capture irrelevant areas.
- Consider positioning the camera slightly downward to minimize glare or reflections.
- Test the camera’s view by monitoring the live feed and making adjustments as necessary.
- Make sure the camera is positioned to eliminate any blind spots, ensuring complete coverage of the desired area.
Check Camera Settings
Check Camera Settings
Review the camera settings to ensure they are configured correctly. Start by checking the resolution setting to make sure it matches your desired quality. For example, if you want high-definition footage, set the resolution to 1080p. Next, verify the frame rate setting, which determines the smoothness of the video. For instance, if you want a cinematic look, set the frame rate to 24 frames per second. Finally, don’t forget to check other important settings like white balance, exposure, and focus, ensuring they align with your preferences and requirements.
Test Camera with Different Monitor
If you are experiencing issues with the display, first, ensure that the camera is properly connected to the current monitor or display device. If the issue persists, disconnect the camera from the current monitor and connect it to a different monitor or display device using the appropriate cables. Power on both the camera and the new monitor or display device, and check if the display issue persists. This will help determine if the problem lies with the camera or the monitor.
Reset Camera System
If you have attempted all other troubleshooting steps without success, a factory reset may be necessary for your security camera system. To perform a reset, follow these steps:
- Refer to the manufacturer’s instructions: Consult the user manual or support documentation provided by the manufacturer for your specific camera system model.
- Locate the factory reset option: Look for instructions on how to access the factory reset function. This may involve navigating through the camera system’s menu or using physical buttons on the device.
- Initiate the factory reset: Once you have found the factory reset option, select it to begin the process.
- Confirm the reset: You may be prompted to confirm the reset action. Follow the on-screen instructions to proceed.
- Wait for the reset to complete: The camera system will now reset itself to its original factory settings. This process may take a few minutes, so be patient and avoid interrupting it.
- Reconfigure your camera system: After the reset is complete, you will need to reconfigure your camera system. This may involve setting up network connections, adjusting camera settings, and re-adding any previously paired devices.
By following these steps, you can perform a factory reset on your security camera system, allowing you to troubleshoot persistent issues or start afresh if needed. Remember to consult the manufacturer’s instructions for specific guidance tailored to your camera system model.
Contact Technical Support
If you have followed all troubleshooting steps and are still experiencing issues, contact the technical support of your security camera system provider. Explain the problem you are facing in detail and provide any relevant error messages or symptoms. Include your contact information and preferred method of communication (phone, email, etc.). Await their response and follow their instructions for further assistance and guidance.
Key Takeaways from Troubleshooting
In conclusion, by following the steps outlined in this blog post, you can effectively troubleshoot common issues with your security camera system. From checking power supply and camera connections to ensuring a stable network connection, inspecting camera lens and adjusting camera position, reviewing camera settings, testing with a different monitor, resetting the system, and contacting technical support if needed, you will be able to identify and resolve most common issues. By taking these proactive measures, you can ensure the optimal performance and functionality of your security camera system.
Effective Troubleshooting Techniques
Instructions for Setting Up and Operating Your Security Camera
- Position the camera strategically: Before installing a security camera, identify the areas you want to monitor and choose appropriate locations to mount the camera. Consider factors such as visibility, lighting conditions, and potential obstructions
- Adjust camera settings: Once the camera is installed, ensure that you configure the necessary settings. This may include adjusting the field of view, motion detection sensitivity, resolution, and recording options. Consult the camera’s user manual or manufacturer’s guidelines for detailed instructions
- Connect the camera to a recording device: Most security cameras require a recording device to store the captured footage. This can be a Network Video Recorder (NVR), Digital Video Recorder (DVR), or a cloud-based storage solution. Follow the camera’s instructions to establish a connection between the camera and the recording device
- Monitor and review footage: Once the camera is set up and recording, regularly check the footage to ensure the camera is functioning properly and capturing the desired areas. Reviewing the footage will also allow you to identify any incidents, suspicious activities, or potential security breaches
- Secure the camera and network: Protecting the camera and network from unauthorized access is crucial. Change the default login credentials of the camera and ensure you have a strong password. Regularly update the camera’s firmware to patch any security vulnerabilities. Additionally, secure your home or office network by using a strong Wi-Fi password, enabling encryption, and regularly updating your router’s firmware
- Remember, these are general guidelines, and it is important to refer to the specific instructions provided by the camera manufacturer for a more detailed setup and usage guide
Frequently Asked Questions about Security Cameras
Can security cameras be integrated with existing alarm systems for enhanced security?
Yes, security cameras can be integrated with existing alarm systems to enhance security. By combining these two technologies, businesses and homeowners can benefit from a comprehensive security solution that provides both visual surveillance and alarm notifications. This integration allows for a more effective monitoring and response to potential security threats.
By connecting security cameras to the existing alarm system, users can receive real-time video footage and alerts when an alarm is triggered. This enables them to visually verify the cause of the alarm and take appropriate action, such as contacting authorities or assessing the situation remotely. The integration also allows for the recording and storage of video footage, which can be useful for investigations or evidence purposes.
Integrating security cameras with an existing alarm system provides a more complete security solution by combining the benefits of visual surveillance with the deterrent effect of an alarm system. It helps create a layered security approach that can help prevent and mitigate security breaches, thefts, vandalism, and other threats.
It is important to note that the integration of security cameras with existing alarm systems may require additional equipment, such as video encoders or network video recorders, to ensure compatibility and functionality. Professional installation and configuration by a qualified security provider are recommended to ensure seamless integration and optimal performance.


I followed this guide to troubleshoot my security camera system and found that the issue was with the network connection. Once I reset the router, the cameras started working perfectly. This guide was really helpful!
Thank you for sharing your experience! We’re glad to hear that the guide was helpful in resolving the issue with your security camera system. Resetting the router is indeed a common solution for network connection issues, and it’s great to know that it worked for you.
I disagree with the step of testing the camera with a different monitor. If the issue is with the camera, it should still be visible on the original monitor. Instead, it would be more useful to suggest testing the camera with a different power source or cable.
Thank you for your feedback. While it is true that testing the camera with a different monitor may not directly solve the issue, it can help in troubleshooting whether the problem lies with the camera or the monitor. However, your suggestion of testing the camera with a different power source or cable is also valid and can be included as an additional step.
In my experience, I had to adjust the camera position to avoid glare from the sun. It would be helpful to mention that adjusting the camera angle can also help in dealing with reflections or other environmental factors that may affect the camera’s performance.
I would suggest adding a step to check the recording settings of the security camera system. Sometimes, the issue may be that the system is not set up to record properly or the storage is full.