In this step-by-step guide, I will explain how to use an advanced sensor to find the source of a water leak. By following these instructions, users will be able to pinpoint the exact location of the leak, allowing for prompt and accurate repairs.
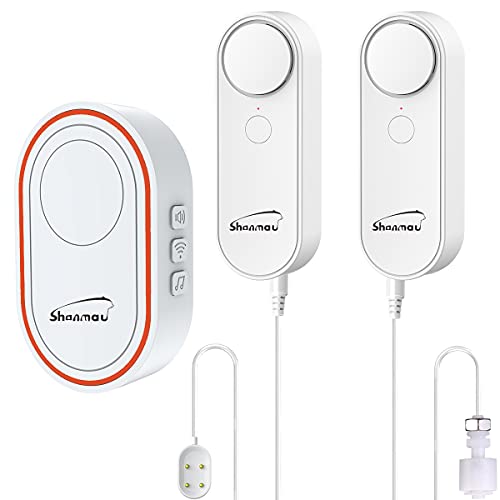
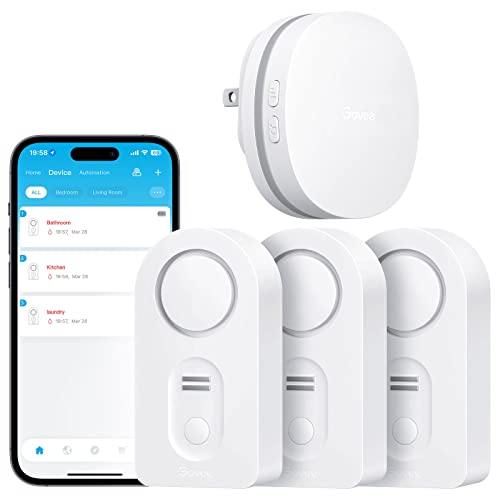
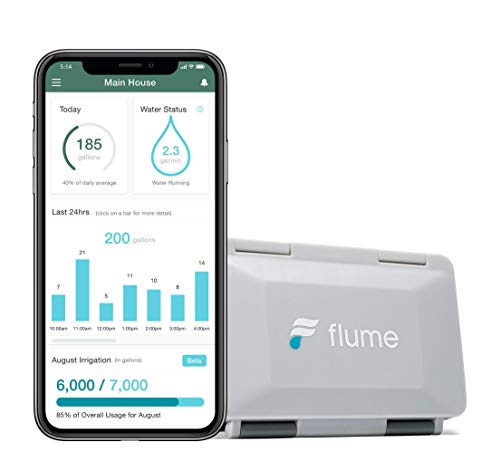
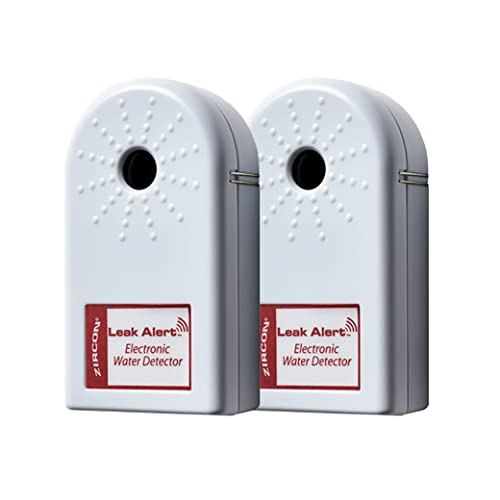
Top-rated water leak detection devices


Gather the necessary equipment
Before starting the process, gather all the necessary equipment. Begin by obtaining an advanced water leak sensor, which will be crucial for detecting any potential leaks. Additionally, make sure to have a flashlight on hand to illuminate any hard-to-reach areas. It is also helpful to have a notepad and pen nearby to jot down any observations or important information during the process.
Inspect visible areas
Inspect visible areas for water leaks by following these steps:
- Begin the inspection by examining common areas where water leaks are often found, such as under sinks, around toilets, and near water heaters.
- Look for any signs of water damage or moisture, such as discoloration on walls or floors, warped or soft spots, or the presence of mold or mildew.
- Check for any dripping or pooling water, as well as any loose or damaged plumbing connections.
- If you notice any signs of water leaks or damage, make a note of the location and take appropriate action to repair or address the issue promptly.
Use the advanced sensor
To use the advanced water leak sensor, first turn it on. Then, hold it close to suspected areas of water leaks. The sensor will detect any moisture or water presence and emit an alert.
Record the readings
To effectively track and identify potential water leaks, it is crucial to record the sensor readings and any areas where the sensor alerts for leaks. Here’s how to do it:
- Start by activating the sensor and positioning it in the desired location.
- As you move along and use the sensor, pay attention to any changes in the readings displayed.
- Take note of the readings at regular intervals, such as every hour or whenever you suspect a leak may be occurring.
- Additionally, make a record of any specific areas where the sensor alerts for potential leaks, such as near pipes or faucets.
- Write down the date, time, and corresponding readings for each recorded instance.
- Maintain a clear and organized log of all the recorded readings and alerts for future reference.
- When analyzing the data, carefully study the recorded readings and compare them to identify any patterns or anomalies that could indicate the source of a leak.
By diligently recording the sensor readings and alert areas, you will have a valuable resource to help pinpoint the source of any water leaks and take necessary actions to address them promptly.
Focus on problem areas
To focus on problem areas:
- Identify potential problem areas.
- Use the advanced sensor to locate the water leak within those areas.
- Narrow down the location of the leak by focusing on specific spots.
- Direct your attention and efforts towards resolving the issue in those problem areas.
Check hidden areas
To thoroughly inspect for water leaks, make sure to check hidden areas like crawl spaces, basements, and attics. These areas are commonly overlooked but are susceptible to water damage. Use a flashlight to examine the walls, floors, and ceilings for any signs of moisture or water stains. Pay close attention to any musty odors or soft or damp spots, as these could indicate a hidden leak. If you discover any issues, consider seeking professional assistance to conduct a more detailed inspection.
Inspect plumbing fixtures
Inspect all plumbing fixtures, including faucets, showerheads, and pipes, for any signs of leakage. Start by visually examining each fixture for any visible water droplets or moisture. Check the base of the fixtures, as well as the connections between pipes and fixtures. Next, use an advanced sensor to detect any hidden leakage behind the fixtures. Hold the sensor against the wall or floor near the fixture and move it around to cover the area thoroughly. If the sensor indicates any presence of moisture or dampness, further investigation may be required to identify and fix the source of the leakage.
Consult a professional if needed
- If you are unable to locate the source of the water leak or require further assistance, consult a professional plumber or water leak detection specialist.
- Reach out to a trusted professional who has experience in dealing with water leaks and plumbing issues. They have the necessary knowledge and equipment to accurately identify and fix the problem.
- Schedule an appointment with a licensed plumber to have them assess the situation and provide expert advice on the best course of action.
- Seek the help of a water leak detection specialist if you suspect a hidden leak that is difficult to locate. They have specialized equipment, such as thermal imaging cameras and acoustic listening devices, to detect leaks behind walls, under floors, or in other concealed areas.
- Remember, consulting a professional can save you time, money, and potential damage that may arise from attempting to fix the issue yourself.
Summarizing the Findings
In conclusion, this blog post has provided a comprehensive guide on how to find the source of a water leak using an advanced sensor. By carefully following the step-by-step instructions outlined here, along with utilizing the necessary equipment, you can successfully locate and address water leaks in your home or property. Remember to thoroughly inspect both visible and hidden areas, record and analyze the sensor readings, and seek professional assistance if necessary. With these techniques and tools at your disposal, you can effectively detect and resolve water leaks, ultimately preventing potential damage and saving valuable resources.
Expert Techniques
Installation and Set-Up Guidelines
- Ensure the water leak sensor is powered on and the batteries are properly installed
- Identify the area where you suspect a water leak may occur and position the sensor strategically in that location
- Connect the sensor to your home’s Wi-Fi network using the provided instructions or through a smartphone app, if applicable
- Set up notifications or alerts on your smartphone or other devices to receive real-time updates in case of a water leak
- Regularly check the sensor’s status and battery level to ensure it is functioning properly and replace batteries as needed
Frequently Asked Questions about the Advanced Water Leak Sensor
How long does the battery of an advanced water leak sensor typically last?
The battery life of an advanced water leak sensor typically varies depending on the specific model and usage patterns. However, on average, these sensors can last anywhere from one to five years. Factors that can affect battery life include the frequency of water detection events, the sensitivity settings of the sensor, and the quality of the battery itself. It is advisable to consult the manufacturer’s specifications or user manual for more precise information regarding the expected battery life of a particular water leak sensor model.
Are there any specific maintenance requirements for an advanced water leak sensor?
Yes, there are specific maintenance requirements for an advanced water leak sensor. Regular maintenance helps ensure the proper functioning and accuracy of the sensor over time. Here are some general maintenance guidelines:
- Cleaning: Regularly clean the sensor to remove any dust, debris, or build-up that may obstruct its performance. Use a soft cloth or brush to gently wipe the sensor’s surface.
- Check battery: If your water leak sensor is battery-powered, regularly check the battery level and replace it as needed. Follow the manufacturer’s instructions regarding battery replacement.
- Calibration: Some advanced water leak sensors may require periodic calibration to maintain their accuracy. Consult the user manual or contact the manufacturer to understand the calibration process and frequency.
- Test functionality: Test the functionality of the water leak sensor periodically, especially after any maintenance or battery replacement. Follow the instructions provided by the manufacturer to perform a test.
- Check connections: Ensure that all connections, including cables and wires, are secure and properly connected. Loose or faulty connections can affect the sensor’s performance.
- Consult the user manual: Always refer to the user manual or documentation provided by the manufacturer for specific maintenance requirements and instructions tailored to your advanced water leak sensor model.
How does an advanced water leak sensor differ from a standard water leak sensor?
An advanced water leak sensor differs from a standard water leak sensor in several ways. Firstly, an advanced water leak sensor usually incorporates more sophisticated technology and features compared to a standard sensor. This can include increased sensitivity and accuracy in detecting water leaks, as well as the ability to detect different types of water leaks, such as slow leaks or hidden leaks that may not be immediately visible.
Additionally, advanced water leak sensors often come with additional functionalities, such as the ability to connect to a smart home system or a mobile app. This allows users to receive real-time notifications on their smartphones or other devices when a water leak is detected, enabling prompt action to mitigate potential damages.
Some advanced water leak sensors may also include other environmental monitoring capabilities, such as monitoring humidity levels or detecting freezing temperatures. These additional features provide a more comprehensive approach to home or building monitoring and can help prevent further issues related to water damage or other environmental factors.
Overall, the advanced water leak sensor offers enhanced detection capabilities, increased connectivity options, and additional functionalities compared to a standard water leak sensor. These advancements aim to provide users with more effective and efficient protection against water damage and potential costly repairs.
Thank you for your feedback! That’s a great suggestion. I’ll definitely consider covering the topic of repairing water leaks in a future article.
I encountered some difficulties while using the advanced sensor. It wasn’t providing accurate readings and I couldn’t pinpoint the exact source of the leak. Any troubleshooting tips?
I’m sorry to hear that you experienced difficulties. One possible issue could be improper calibration of the sensor. Make sure to follow the manufacturer’s instructions for calibration. If the problem persists, you may want to contact the manufacturer’s customer support for further assistance.
I adapted the steps in this guide to locate a water leak in my outdoor sprinkler system. It worked like a charm! Thank you for providing such clear and concise instructions.
Could you provide some advanced tips for using the sensor? I’m looking for more advanced techniques to locate hard-to-find leaks.
Certainly! One advanced technique is to use thermal imaging cameras along with the advanced sensor. This can help identify hidden leaks behind walls or under floors by detecting temperature differences. Additionally, you can try using a smoke test to detect air leaks in plumbing systems. These techniques can be helpful for locating hard-to-find leaks.
I used the information from this guide to locate a water leak in my office building. It turned out to be a cracked pipe behind a wall. The guide was instrumental in helping me identify and fix the problem. Thank you!
You’re welcome! I’m glad the guide was able to help you locate and fix the water leak in your office building. That’s a great real-world application of the information provided. If you have any other questions or need further assistance, feel free to ask!
I found this guide very helpful! It would be great if you could also provide some tips on how to repair the water leak once it has been identified.
I followed the steps outlined in this guide and was able to locate the source of a water leak in my basement. The advanced sensor was really helpful and saved me a lot of time!
I recently purchased an advanced water leak sensor and I’m excited to try it out. Do you have any specific recommendations on which brand or model to choose?
That’s great to hear! There are several reputable brands that offer advanced water leak sensors, such as Flume and Phyn. I recommend doing some research and reading customer reviews to find the best one that fits your needs and budget.