
The step-by-step guide titled “How to set up a Wi-Fi network in my home?” provides a concise overview of the process involved in establishing a Wi-Fi network in one’s home. It aims to assist individuals in enhancing their home connectivity by enabling a wireless network that can provide internet access to multiple devices.
Top-rated smart home devices and systems


Setting Up a Wi-Fi Network: A Comprehensive Guide
Gather the necessary equipment
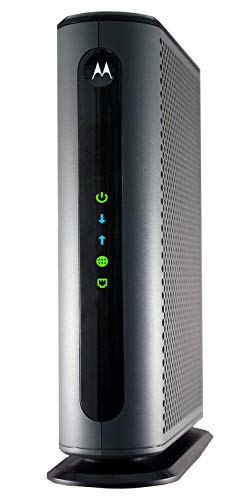
Gather all the necessary equipment before setting up a Wi-Fi network in your home. Obtain a modem, a router, and an internet service provider (ISP) account to ensure a smooth installation process.

Connect the modem
Connect the modem to your ISP’s network by following these steps:
- Check the manual: Refer to the modem’s manual for specific instructions on how to connect it to your ISP’s network.
- Use provided cables: Locate the cables provided with the modem. Typically, you will need an Ethernet cable to connect the modem to your ISP’s network.
- Connect the cables: Plug one end of the Ethernet cable into the modem’s Ethernet port. Then, connect the other end to the corresponding port on your ISP’s network device, such as a router or wall jack.
- Power on the modem: Connect the modem to a power source using the provided power adapter. Ensure that the modem is receiving power by checking the indicator lights.
Please note that the exact steps and cable connections may vary depending on your specific modem and ISP.
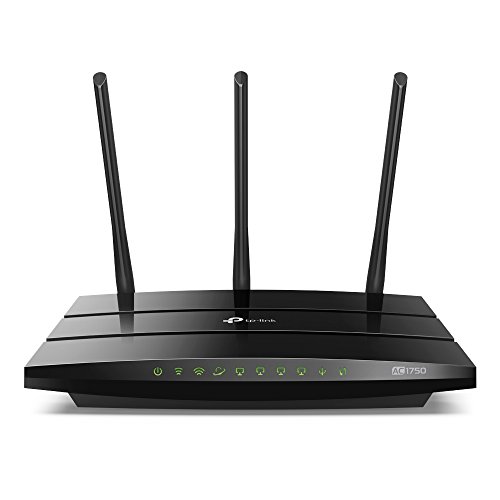
Connect the router
Connect the router to the modem by plugging one end of an Ethernet cable into the router’s WAN or Internet port, and the other end into the modem’s Ethernet port. Ensure that the router is powered on by connecting it to a power source and turning it on.
Examples:
- Insert one end of the Ethernet cable into the WAN or Internet port on the back of the router, and insert the other end into the Ethernet port on the modem.
- Connect the power adapter to the router and plug it into a power outlet. Press the power button to turn on the router, ensuring it has a steady power supply.
Access router settings
To access the router settings, open a web browser and enter the router’s IP address in the address bar. This information is usually printed on the router or provided in the manual.
- Open a web browser.
- Enter the router’s IP address in the address bar.
- Press Enter or Go.
- This will take you to the router’s settings page where you can configure various options and parameters.
Set up Wi-Fi network
To navigate to the Wi-Fi settings in the router’s web interface, enter the router’s IP address in a web browser. Once there, locate and click on the Wi-Fi settings option. Next, choose a network name (SSID) that you’d like to use for your Wi-Fi network. Afterward, set a secure password by selecting the password field and entering a strong and unique password. Remember to save the changes before exiting the web interface.
Configure Wi-Fi security
To enable WPA2 encryption, access your Wi-Fi router’s settings page. Locate the security options and select WPA2 as the encryption type. Choose a strong password for your Wi-Fi network by combining uppercase and lowercase letters, numbers, and special characters. Avoid using common words or personal information. This will significantly enhance the security of your network and prevent unauthorized access.
Connect devices to the Wi-Fi network
To connect your devices to the Wi-Fi network, start by searching for available networks on your device. On a smartphone, go to the settings menu and tap on the Wi-Fi option. On a computer, click on the Wi-Fi icon in the taskbar or system tray. Once you have accessed the list of available networks, select the one you just set up. If prompted, enter the password for the network to establish the connection. For example, on an iPhone, go to Settings > Wi-Fi, select the network name, and enter the password when prompted. On a Windows laptop, click on the Wi-Fi icon in the taskbar, select the network, and enter the password if required.
Test the Wi-Fi connection
To ensure the Wi-Fi network is functioning correctly, test the internet connection on your devices. Open a web browser and navigate to a website to verify if you are connected. This simple step will help you confirm the Wi-Fi connection’s reliability and ensure seamless internet access.
Key Takeaways
In conclusion, setting up a Wi-Fi network in your home is a relatively straightforward process that requires careful attention to each step. By following the guide provided, you will be able to successfully establish a reliable and secure Wi-Fi connection. Remember to choose an appropriate router, ensure proper placement, configure the settings, and safeguard your network with a strong password. By doing so, you can enjoy the convenience and benefits of a well-functioning Wi-Fi network in your home.
Essential Equipment

Effective Networking Strategies
Step-by-step guide on setting up and utilizing home connectivity
- Set up your home network: Begin by connecting your modem to your internet service provider (ISP). Connect your Wi-Fi router to the modem, and make sure to secure your network with a strong password
- Connect your devices: Connect your devices, such as smartphones, laptops, tablets, and smart home devices, to your home Wi-Fi network. Look for the Wi-Fi settings on each device and select your network name (SSID) to establish a connection
- Explore smart home devices: Start by connecting simple devices like smart bulbs or plugs to your home network. Follow the manufacturer’s instructions to connect them to your Wi-Fi network and control them through a mobile app or voice assistant
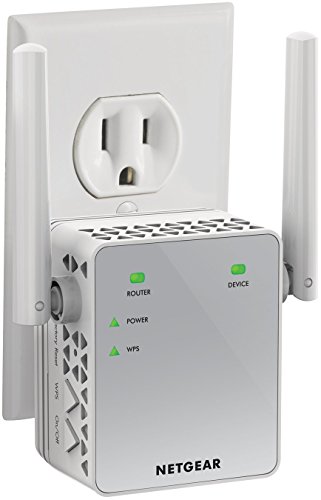
- Enhance your connectivity: Consider upgrading your router to a more advanced model if you experience slow internet speeds or weak coverage in certain areas of your home. You may also explore options like mesh Wi-Fi systems to ensure a seamless and reliable connection throughout your house
- Secure your network: Protect your home network and connected devices by enabling security features like firewalls and encryption. Regularly update your router’s firmware to ensure you have the latest security patches. Additionally, be cautious when connecting new devices to your network and only download apps or software from trusted sources
Frequently Asked Questions about Home Connectivity
How does home connectivity work?
Home connectivity refers to the ability of devices in a household to connect to the internet and communicate with each other. It typically involves the use of a home network, which is established through a combination of hardware and software components.
At the core of home connectivity is a home router, also known as a wireless access point. This device serves as the central hub that connects all devices within the home to the internet. The router receives data from the internet service provider (ISP) through a wired connection, such as a fiber optic cable or a DSL line.
The router then uses wireless technology, such as Wi-Fi, to transmit the data to devices within its range. These devices, such as smartphones, tablets, computers, smart TVs, and smart home devices, can connect to the router wirelessly, allowing them to access the internet and communicate with each other.
To establish a connection, a device needs to authenticate itself with the router by providing the correct network credentials, such as a username and password. Once connected, the device can send and receive data packets over the network, enabling internet browsing, streaming, online gaming, and other online activities.
In addition to wireless connectivity, home networks can also include wired connections, such as Ethernet cables, for devices that require a more stable and faster connection, like desktop computers or gaming consoles. These wired connections can be directly connected to the router or through network switches to expand the number of available ports.
Home connectivity also involves the use of network protocols, which define the rules and standards for data transmission and communication between devices. Common protocols include TCP/IP (Transmission Control Protocol/Internet Protocol), DNS (Domain Name System), DHCP (Dynamic Host Configuration Protocol), and UPnP (Universal Plug and Play).
Furthermore, network security measures are crucial for protecting home connectivity. These may include encryption methods, such as WPA2 (Wi-Fi Protected Access 2), to secure wireless communications, as well as firewalls and network access controls to prevent unauthorized access to the home network.
Overall, home connectivity relies on the interplay between hardware, software, and network protocols to enable devices within a home to connect to the internet, communicate with each other, and access online services and content.
I used to have constant Wi-Fi dropouts until I changed the channel on my router. It made a huge difference and now my connection is stable. Just a tip for anyone experiencing similar issues!
I have a suggestion for a future article: tips for improving home network security. It would be great to learn how to better protect our Wi-Fi networks from unauthorized access.
That’s a great suggestion! I’ll definitely consider writing an article on improving home network security. Thank you for your input!
I adapted the steps slightly by connecting a Wi-Fi extender to improve the signal strength in my backyard. It worked really well and now I can enjoy Wi-Fi outdoors too!
I’m looking for recommendations on a reliable router for a large home. Any suggestions?
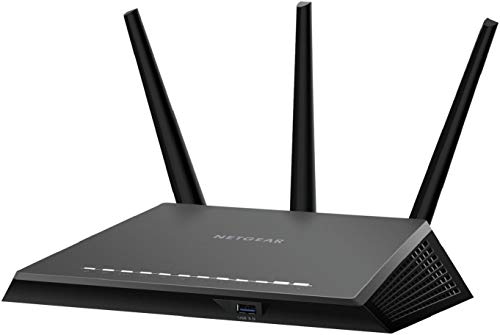
I’ve had a great experience with the TP-Link Archer AX6000 router. It offers excellent coverage and speed, perfect for a large home!
I’m having trouble connecting the router to the modem. I’ve followed the steps but the connection keeps failing. Any advice on what could be wrong?
I’ve had success with using a mesh Wi-Fi system in my home. It provides seamless coverage throughout the house and eliminates dead zones. Highly recommended!
It would be great if you could write an article on how to extend Wi-Fi coverage in a large home. I’m having some trouble getting a strong signal in certain areas of my house.
This guide was incredibly helpful! I followed all the steps and was able to set up my Wi-Fi network without any issues. Thank you so much!
I followed the guide and successfully set up my Wi-Fi network. The connection is stable and the speed is great. Thanks for the clear instructions!
You’re welcome! I’m glad the instructions were helpful for you. Enjoy your new Wi-Fi network!
One tip I have is to make sure you place the router in a central location in your home. This helps to ensure a strong and consistent Wi-Fi signal throughout the house.